Plan the shower room layout:
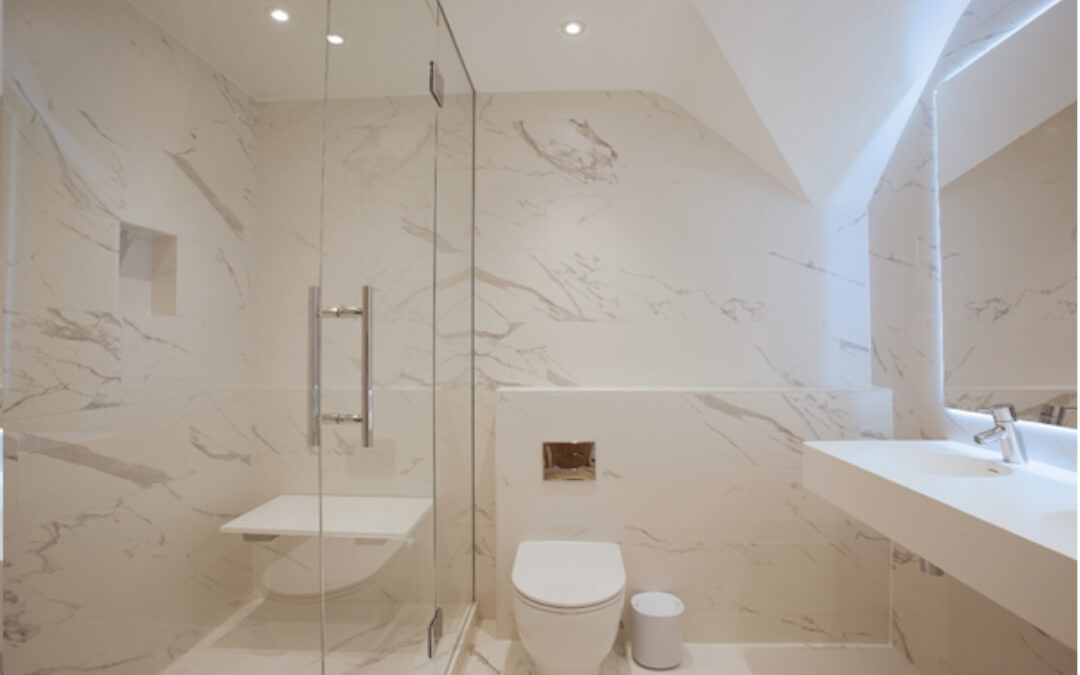
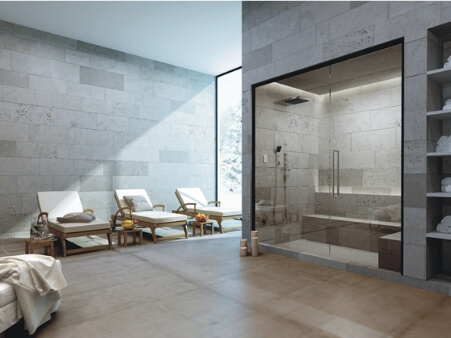
- Seating – You will want to relax when taking a steam bath so seating is essential. To save on space in a smaller rooms you can use a fold-away seat. If you have enough space you could build a seating area on one or two sides of the room, and space permitting why not an area for lying down.
- Door – You can use a well-sealed shower door or a steam door.
- Steam outlet – The steam delivery pipe terminates with a 22mm male connection into a specially designed steam outlet when considering the outlet location. However bear in mind that the steam coming from the outlet will be hot and therefore it is best to keep it away from the feet of bathers.
- Lights – You will need IP-rated low voltage or LED lights for the steam shower. You may also wish to have two different levels of light, bright for cleaning, soft for bathing, or why not add a little twist and for colour light therapy.
- Ventilation – There is no need for special ventilation in the steam shower. If you have an extract vent in the bathroom this will help remove any steam that may escape from the shower when opening the door.
- Steam generator – The generator needs to be located in a dry and accessible area ideally within 7m of the steam shower (for example in a cupboard, loft or garage). The area also needs a water supply and a suitable electrical supply where you should be able to run a copper pipe to the steam outlet and control cables to the steam shower for the thermostatic control.
Planning the construction:
- Floor – As with a regular shower the floor needs to be waterproof especially where it joins the walls, and should fall to a waste gulley so water can drain away.
- Walls – Can be constructed in blockwork or studwork or any other stable structure and lined with tile-backer board ready for final finishes.
- Seats – If you are creating seating in the shower you can buy the basic structure or you can construct it yourself in the same way as the walls and line with tile-backer board before finishing.
- Ceiling – Construct is in the same way as the walls and it is best to have a gradient so condensation can run away. Either a central pitch, slope one way or even a domed, barrelled or rolled ceiling.
Plan the finishes & accessories:
- Tiles – This is the most usual way to finish the inside of a steam shower – almost any type of tile will do as long as the surface of the tile is non-porous.
- Grout & Adhesive – There is no need to use special materials, anything that would be suitable for a regular shower will be okay for your steam room.
- Accessories – For a little more luxury why not consider a colour light therapy, a stereo system or an automatic essence dosing system to your beautiful new steam shower.

